
Before starting to modify the case and install new components, it had to be stripped down almost to its lowest level of disassembly. There is a teardown on iFixit, but it wasn’t very useful to me. Apple’s official service manual was my main source of instructions. There’s not a lot I have to say that isn’t in the service manual, and I don’t have many pictures, so this part of the guide will be short.
I actually had two units. One is the one that eventually became the finished product, a complete Macintosh Server G3 in good condition. The server variant is basically identical to a standard G3 but originally came with more RAM and a SCSI card if I remember correctly. This one had additional RAM totaling 768MB, a DVD-ROM drive, and MPEG decoder card. The only problem with it was a broken door latch. The incomplete one was in much worse condition, filthy and missing the optical drive carrier and hard drive. That one would be used for spare parts and was only partially disassembled. Fortunately, its door latch was in good working condition. Both of these are the earlier revision of G3, with the glitchy ATA controller.
Unlike newer Macs, the G3 is fairly easy to deal with. There are no weird screws and most parts come out in a logical order. The motherboard is fairly easy to remove as long as you make sure you have all the screws out (yes, I made that mistake). It has an odd little firewire module that has to be removed first, but neither of these had the modem which would have needed to be disconnected and removed from the back panel. Once the motherboard is out, the door latch can be removed. It’s a piece of brittle plastic that deforms instead of using a spring. To be honest, it doesn’t seem like a very durable design, and I can see why this one broke.
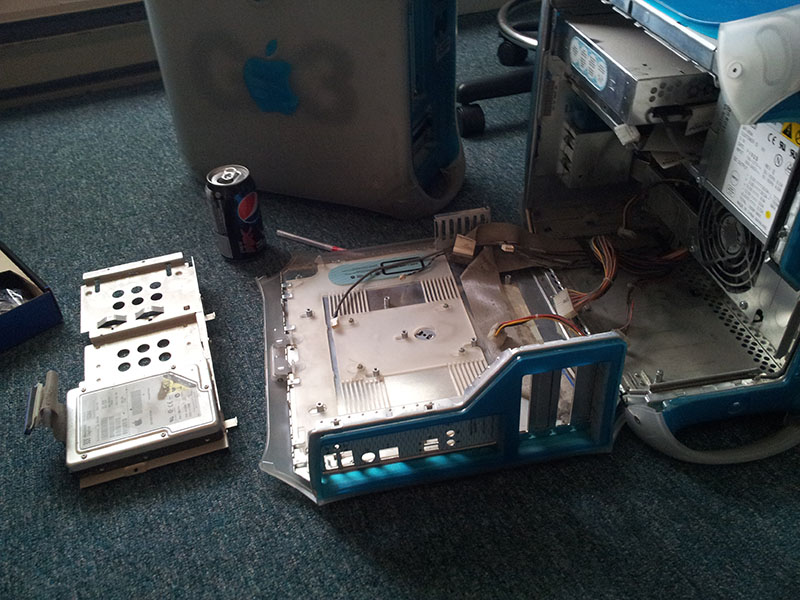
The first revision G3 has a large hard drive tray which unscrews and slides out of the case. The optical drive bezel can be unlatched and removed without removing the rest of the plastic, and the optical drive carrier unscrews and slides out the front. The power supply has an extra bracket on the inside in addition to standard mounting screws and the drive carrier needs to be removed or pushed forward to get the power supply out. The last piece that came out from the inside of the chassis was the cooling fan, which is mostly useless and will not be reused.
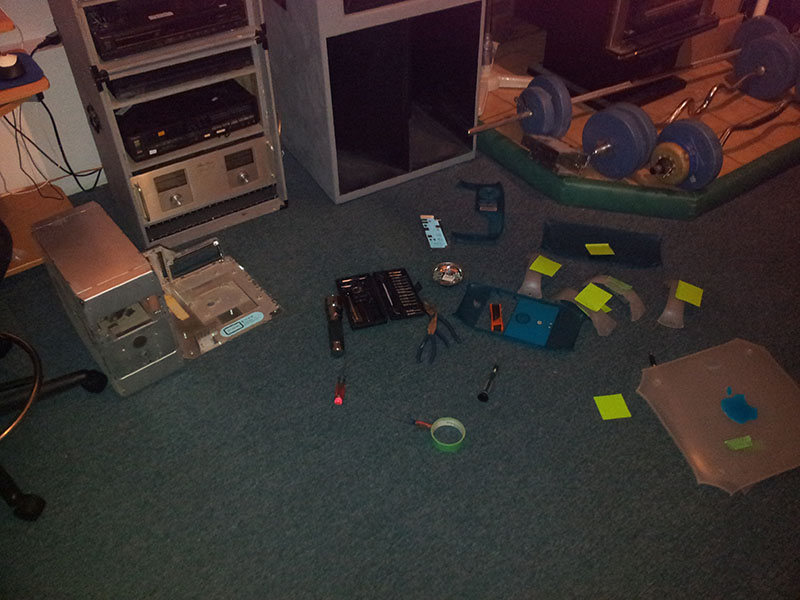
Once the case is empty, the plastic can come off. Most 0f the panels screw or slide on. They have to be removed in the correct order, but it’s specified in the service manual. I think it’s sides, handles, top/bottom, front/back. I had some trouble releasing the clips that held the blue plastic piece on the back of the door, but it eventually came out. That piece is the only plastic piece that will not be reused. The bottom handles (or stands if you prefer) had some cracking so I ended up using the ones from the spare, which were in better condition. I labelled all the pieces, but it’s not necessary because parts are very clearly interchangeable or not interchangeable.
With nothing left but bare metal, the Power Mac was ready for conversion.